
Biceps Tattoo Pain: What to Expect and How to Prepare
You've saved the design, checked how it looks on your arm, and started wondering whether the inside or outside of your biceps will hurt less. Then you read conflicting accounts: someone barely noticed their upper-arm tattoo, while someone else struggled through the shading.
Biceps tattoo pain depends on the exact patch of skin and the amount of work it receives. Choosing the placement and planning the sitting together gives you a more useful expectation than any pain-chart number.
Table of Contents
Biceps Pain Compared by Placement - Relative pain by biceps tattoo placement - Choose the edges as carefully as the center
What the Session Feels Like Minute by Minute - From the first line to sustained work - When a change needs attention
Why Two People Feel the Same Tattoo Differently - The appointment matters as much as the address
How to Prepare for a Biceps Tattoo Session - Your pre-appointment checklist
Normal Soreness Versus Warning Signs After Your Session - Normal post-session symptoms versus warning signs - Don't use exercise soreness as an explanation by default
Biceps Pain Compared by Placement
The outer biceps is usually the more manageable choice. The inner arm, especially toward the elbow crease, often feels sharper. That's a useful starting point, not a promise about how your appointment will feel.
Healthline's tattoo pain guide distinguishes the relatively less painful upper arm and shoulder from the more sensitive inner upper arm. However, there isn't a scientifically validated pain score for each biceps placement, so the comparison below describes relative expectations rather than measured anatomical rankings.
Relative pain by biceps tattoo placement
Placement | Relative Pain | Typical Sensation | Why It Differs |
|---|---|---|---|
Outer biceps, mid-arm | Lower | Dull ache with light sting | Muscle and soft tissue provide cushioning |
Outer upper arm near shoulder | Lower | Mild, steady sting | A fleshier placement, away from sensitive folds |
Front of biceps, mid-arm | Low to moderate, a practical estimate | Sting that builds over time | Skin softness, positioning, and movement can affect comfort |
Inner biceps, mid-arm | Moderate to higher | Sharp, pinching sensation | Softer, thinner skin near nerve-rich areas |
Inner arm near elbow crease | Higher | Sharp buzzing that may feel radiating | Sensitive tissue and nerve pathways near the fold |
The front-of-biceps row deserves particular caution. It's a working estimate, not a published clinical finding, and how frequently that skin is touched or flexed doesn't establish a reliable pain score.
A stencil can also cover more than one of these zones. A design that looks comfortably centered from the front may wrap onto the inner arm when you turn your wrist, so assess its full outline rather than just its focal point.
Choose the edges as carefully as the center
Skin thickness, body fat, and exact needle position can change the experience. Your inner arm might feel milder than another person's outer arm, which is why comparing pain stories rarely settles the question.
For a design that wraps inward, our guide to inner-arm tattoo pain helps you consider the crease and armpit-side edges separately.
Placement rule: If the artwork works equally well in either location, start outside. Choose the inner arm because you want the design there, not because a chart promises it'll feel the same.
Don't shrink or relocate a meaningful design solely to chase the lowest discomfort. Ask the artist to show you the trade-off between its visual balance and its most sensitive edges.
What the Session Feels Like Minute by Minute
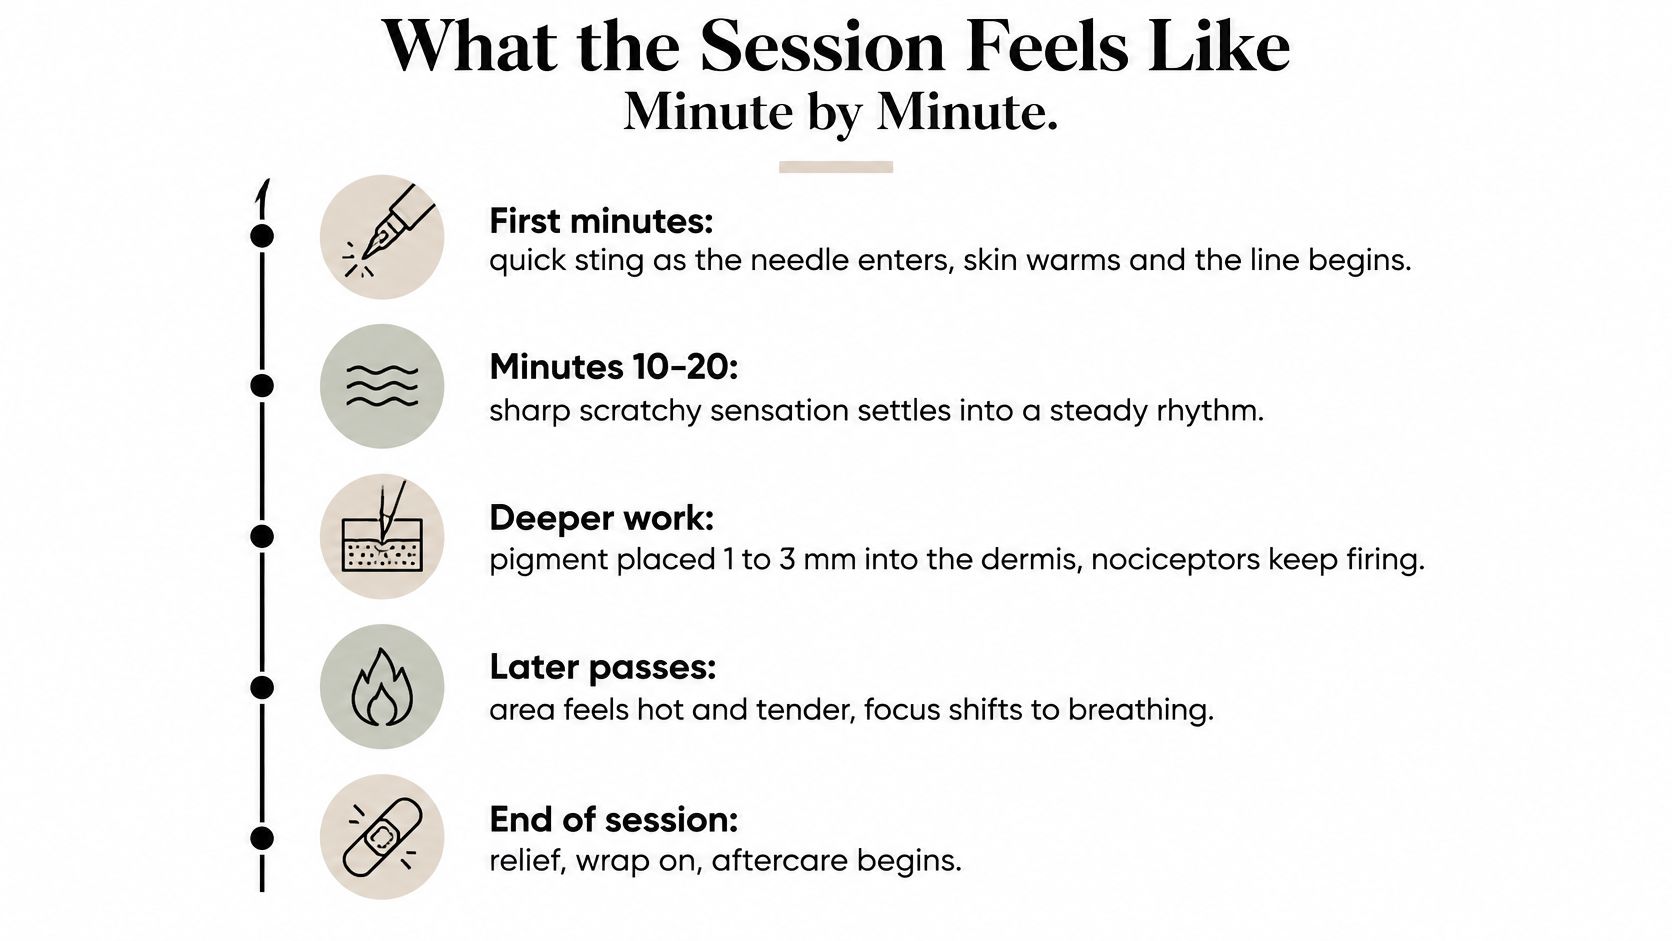
You settle into the chair, the artist supports your arm, and the machine starts. The first contact may feel like a quick scratch with vibration underneath it, more concentrated than the broad ache you might have imagined.
Tattoo needles place pigment approximately 1–3 mm into the dermis, where pain-sensing nerve endings called nociceptors respond to repeated skin injury, as described in the peer-reviewed tattoo-pain study. The needle works in skin, not in the biceps muscle.
From the first line to sustained work
As the outline develops, you begin recognizing the rhythm: contact, movement, lift, wipe. Some people find that predictability easier than the anticipation, although an unexpected pass toward the inner arm can still catch their attention.
Line work often feels narrow and scratchy. Shading can feel broader and more abrasive, while dense saturation asks you to tolerate repeated work across a concentrated patch.
There isn't a reliable minute when the sensation must change. Artist speed, the design, and your skin's response matter more than a stopwatch.
Early contact: You may notice individual stings and the vibration of the machine.
Sustained work: The scratch can become a steadier sting, with warmth and tenderness developing.
Later passes: Already-worked skin can feel raw or heated, especially where the artist returns to build coverage.
When a change needs attention
You might feel a sensation that seems to travel beyond the exact point being tattooed. Upper-arm sensory pathways can make discomfort feel less neatly localized than the stencil suggests.
Tell the artist what changed rather than trying to diagnose it yourself. “That patch suddenly feels electric” gives more useful information than staying silent and hoping the next pass feels different.
Pause signal: Sharp pain that doesn't settle, numbness, or dizziness is a reason to stop and reassess, not a test of commitment.
By the end, you may feel relief as soon as the needle stops, even though the skin remains tender. Finishing the artwork and finishing the healing process are different things.
Why Two People Feel the Same Tattoo Differently
A 2020 survey of 1,092 tattooed people in Poland, summarized in Welltory's tattoo pain guide, found an average maximum pain rating of 4.35 on a 0–10 scale, falling to roughly 2 out of 10 immediately afterward. That places the reported average experience in a moderate range, but it doesn't give your biceps a personal forecast.
These were self-reported ratings, not clinical measurements of identical tattoos. The survey didn't isolate the biceps or separate the inner upper arm from the outer arm.
The appointment matters as much as the address
Longer duration, bleeding, and pre-session stress were more strongly associated with pain than broad body-region categories. Those associations don't mean every long appointment becomes intolerable, but they explain why placement alone is an incomplete guide.
Consider two people choosing similar outer-arm designs. One arrives rested for a limited amount of line work; the other arrives anxious for extensive shading and coverage. Calling both appointments “a biceps tattoo” hides the differences that matter in the chair.
The survey also found no statistically significant difference between women's and men's maximum pain scores. Sex isn't a dependable way to predict an individual client's tolerance.
A pain score describes someone's report. It doesn't measure your ability to sit, and it doesn't obligate you to finish.
The useful question isn't whether you're tougher than the average participant. It's whether the planned work matches your comfort, available time, and ability to recover afterward.
Give the artist practical information: whether this is your first tattoo, whether you're anxious about needles, and whether you need to leave at a fixed time. Those details support a workable appointment better than declaring that you have a high pain threshold.
How to Prepare for a Biceps Tattoo Session
Preparation won't make tattooing painless. It gives you fewer avoidable problems to manage while the artist works.
A medical review of tattooing and skin injury explains why technique matters: excessive needle depth can increase tissue damage, while insufficient depth can lead to poor pigment retention and further passes. Pain isn't a reliable depth gauge, so choose an experienced professional rather than trying to judge technique by how much it stings.
Your pre-appointment checklist
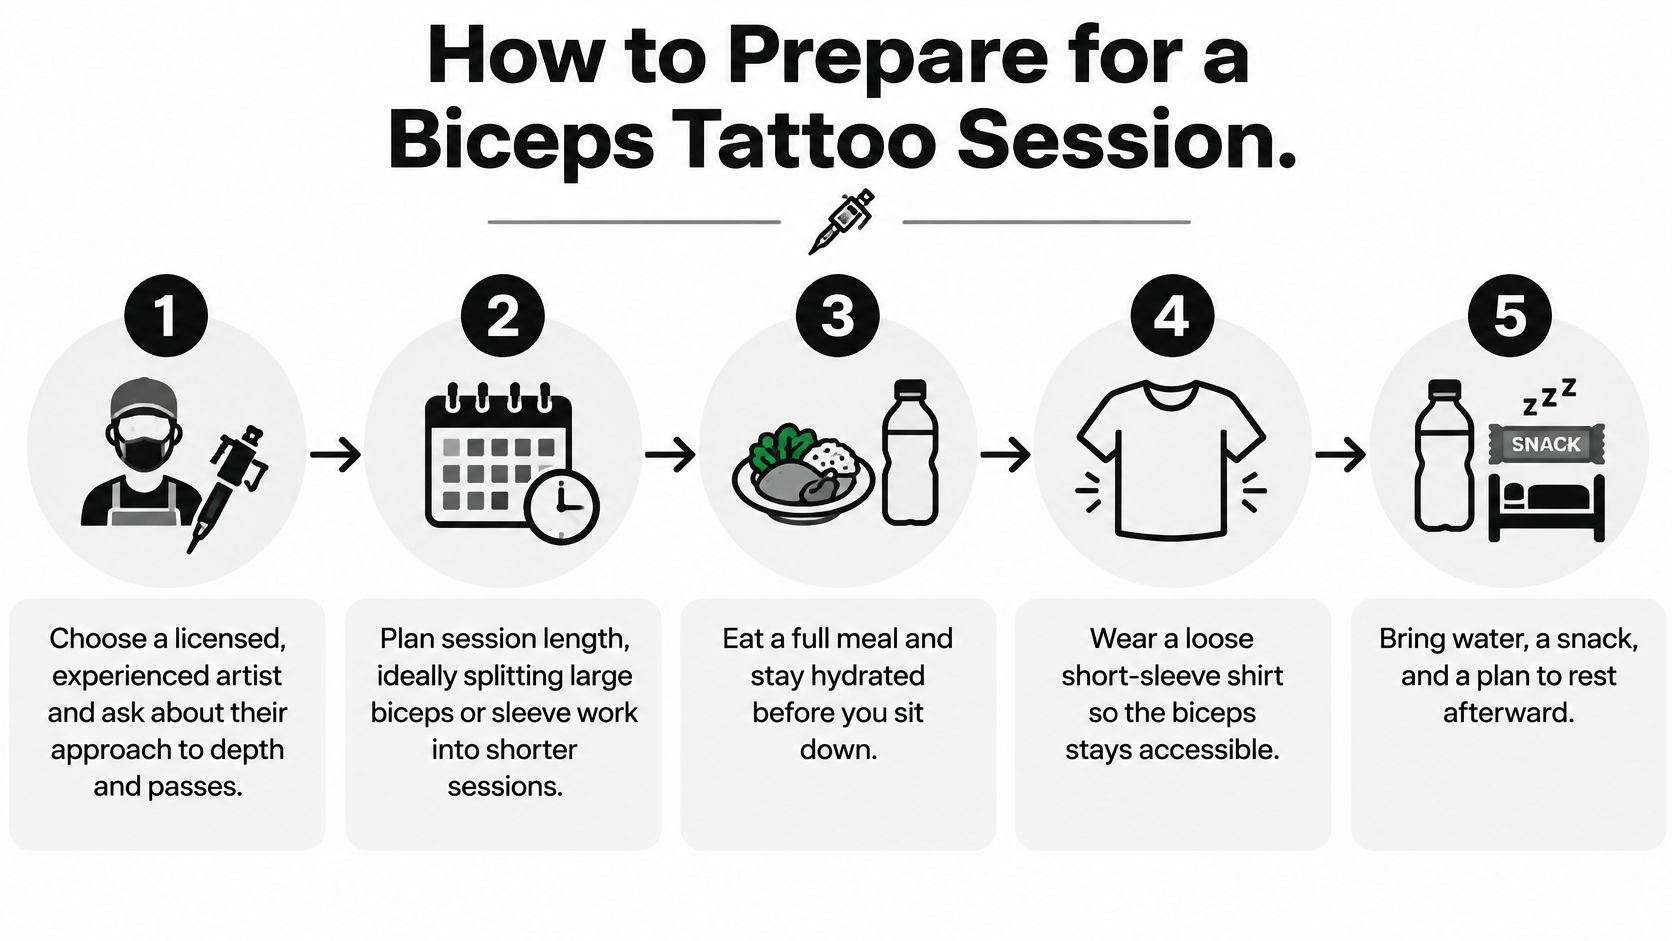
Choose a licensed, experienced artist. Look for healed work in the style you want, then ask how the artist approaches coverage and avoids unnecessary reworking. Don't assume a fast appointment or a quiet machine automatically means gentler tattooing.
Agree on a realistic stopping point. For extensive biceps or sleeve work, discuss staged appointments with adequate healing between them. The common mistake is booking around the quickest possible finish instead of a sitting you can manage.
Protect your sleep. Arrive rested rather than fitting the appointment after an exhausting shift or a late night. If you're unwell or badly fatigued, contact the shop instead of trying to compensate with caffeine.
Eat a proper meal and drink water. Don't arrive hungry because you're nervous or worried about needing a bathroom break. Our guide to what to eat before getting a tattoo can help you plan something practical.
Review medicines and supplements with your clinician. Tell the artist about anything that affects bleeding, and ask your prescriber whether the procedure needs special planning. Never stop prescribed medication because of a tattoo appointment or an artist's suggestion alone.
Wear clothing that leaves the area accessible. A loose sleeveless shirt is often simpler than rolling a tight sleeve over the upper arm. Choose something you won't mind getting marked, and consider how it'll fit over the dressing afterward.
Pack for comfort. Bring water, a snack, and headphones, with a downloaded playlist or podcast ready. Keep your phone and belongings positioned so you won't repeatedly twist or lift the working arm.
Confirm the full plan before starting. Review the stencil, coverage, expected sitting length, and how you'll request a break. Mention work, travel, or exercise commitments that could complicate aftercare rather than raising them when the wrap goes on.
A consultation is also the time to disclose sensitive skin, previous reactions, or a history of troublesome scarring. Don't leave relevant health information for the moment the machine starts.
Ways to Ease Pain During the Session
Use pain controls early, before you're overwhelmed. They work best as a coordinated plan with the artist, not as last-minute attempts to force yourself through an unsuitable sitting.
Clear numbing products beforehand. Ask before applying any topical anesthetic, since the product, application instructions, and studio approach all matter. Don't arrive with an unknown cream under a wrap and assume the artist can work over it.
Request a break while you can still communicate calmly. A transition between outlining and shading can be a convenient pause. Breaks won't reset the skin, but they give you time to drink, reposition, and decide whether continuing makes sense.
Check pain relievers with your clinician. Don't self-medicate with aspirin or ibuprofen to get through the appointment, because they can affect bleeding. If you take either for a medical reason, ask the prescriber what to do rather than skipping it yourself.
Let the support hold your arm. Ask for an adjustment if your shoulder is straining or your hand is going numb. Don't keep flexing your biceps to inspect the design while the artist is working.
Use a steady distraction. Breathe slowly, listen to familiar audio, and keep conversation optional. Choose something calming rather than content that makes you tense, laugh suddenly, or move.
Describe a sudden change immediately. Say where it hurts and whether it feels sharp, burning, or different from the previous passes. The artist needs that information before deciding how to proceed.
For separate muscle discomfort from positioning, heat or cold guidance from SunnyBay explains general differences between those approaches. It isn't fresh-tattoo aftercare advice: don't place heating pads or ice directly onto newly tattooed skin or improvise treatment beneath the dressing.
Normal Soreness Versus Warning Signs After Your Session
Expected soreness should gradually settle, not become progressively worse. Tenderness, mild localized swelling, and some healing-stage itching can occur after tattooing, but the direction of change matters more than a single pain rating.
Mayo Clinic's tattoo safety guidance explains that tattoos can cause infections, allergic reactions, and other skin problems. Don't assume every uncomfortable patch is part of healing, especially when symptoms spread or appear after the area had begun improving.
Normal post-session symptoms versus warning signs
Symptom | Usually Normal? | When to Get Medical Advice |
|---|---|---|
Soreness and tenderness early in healing | Yes, when gradually improving | Pain increases, returns after improving, or becomes difficult to manage |
Mild swelling and redness limited to the tattoo | Often, early on | Redness spreads beyond the tattoo or swelling increases |
Itching during healing | Often, if mild and settling | Itching persists, intensifies, or comes with a rash or raised skin |
Warmth, drainage, or pus | Mild initial warmth or clear seepage can occur; pus isn't expected | Marked or increasing warmth, pus, foul drainage, or other concerning changes |
Fever or escalating pain | No, not something to dismiss | Seek medical evaluation promptly, especially with spreading redness or swelling |
Don't use exercise soreness as an explanation by default
A tired biceps may ache when you move it, and a sleeve rubbing over the tattoo can irritate the surface. Neither explanation safely accounts for fever, pus, spreading redness, or worsening heat.
Pause activities that pull, rub, or press on the fresh tattoo and follow the artist's dressing and cleaning instructions. Our tattoo healing advice can help you organize routine care, but it can't diagnose a complication.
Aftercare checkpoint: You don't need to wait for pain to become severe before contacting a clinician.
A reaction can deserve medical attention even when it's mostly itchy rather than painful. Contact the shop for clarification about routine aftercare, but contact a clinician for suspected infection, persistent reactions, or an uncertain healing pattern.
Choose Your Placement and Book a Consultation
For a first tattoo, a modest outer-biceps design is a sensible starting option if it suits the artwork. Ask the artist to preserve enough size for the details to heal clearly rather than making the piece tiny solely to reduce needle time.
For a larger project, accept that a staged schedule may be more practical than a single demanding sitting. If your preferred design belongs on the inner arm, discuss how its edges approach the folds and agree on a stopping signal before starting.
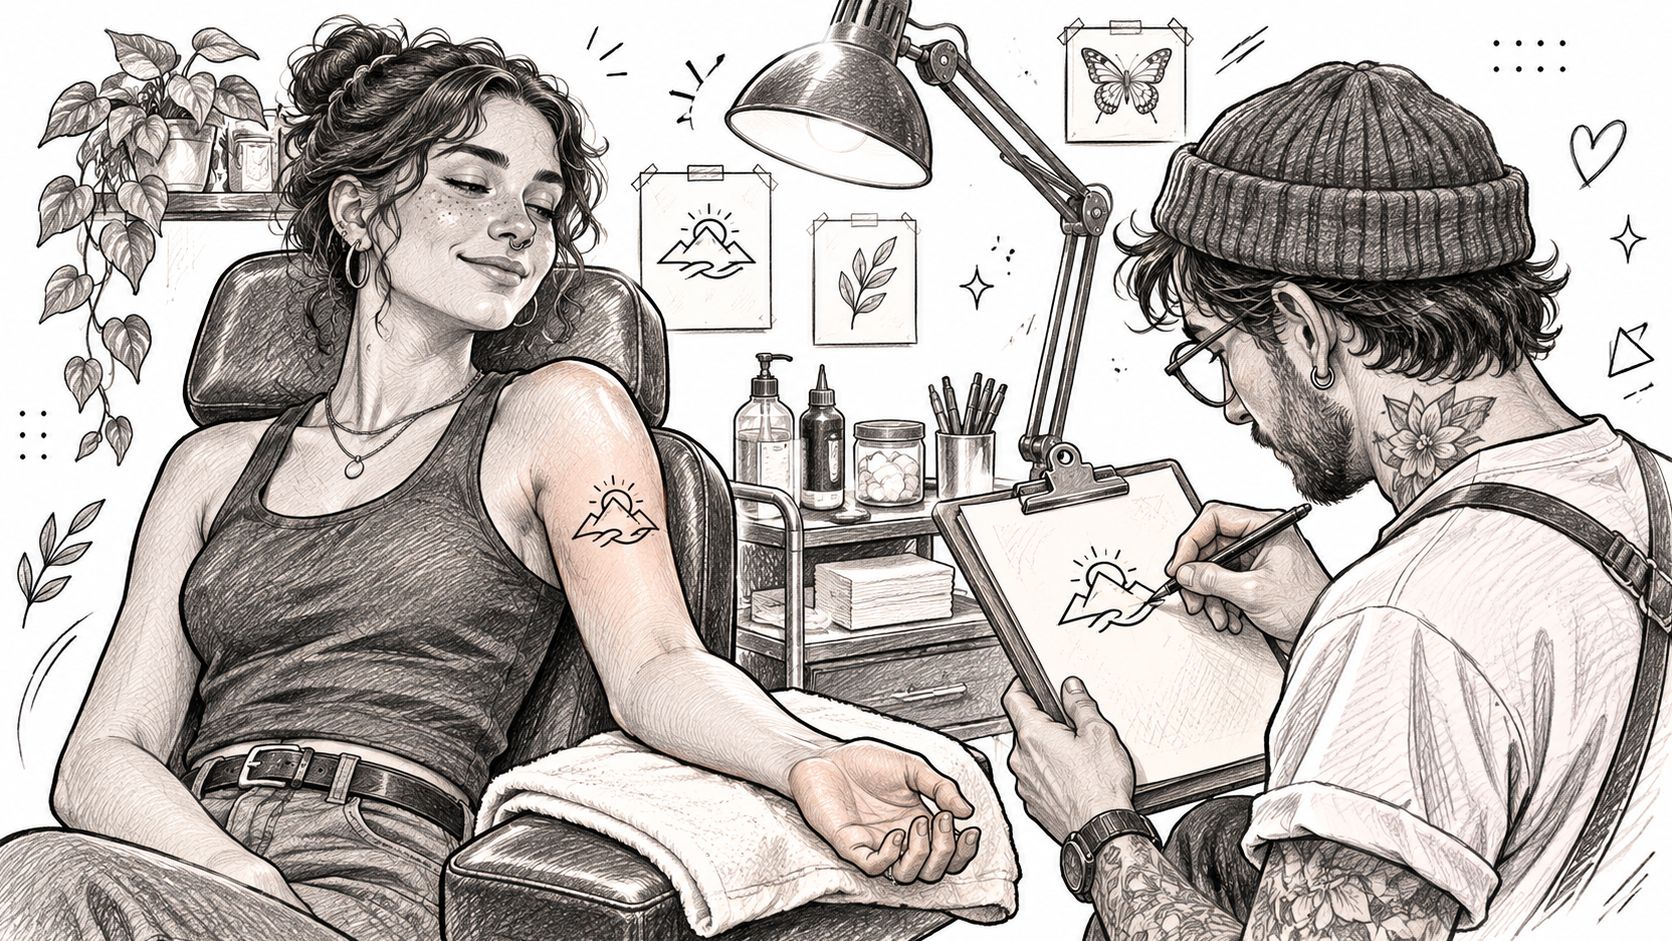
We offer complimentary consultations at Think Tank Tattoo to discuss placement, design direction, and timing. Bring reference images and ask about saturation, breaks, aftercare, and the symptoms that should prompt medical advice.
Appointments are arranged by calling or emailing the shop. Call (720) 932-0124 or email thinktanktattoo@gmail.com with your questions, and don't send a deposit until an artist or staff member directs you to do so.
Think Tank Tattoo offers custom tattoo work with collaborative planning for placement and session timing. Visit Think Tank Tattoo to explore your options, then contact us to discuss a biceps tattoo that fits your design goals and comfort needs.
Comments